在RN项目中,有时涉及到原生组件开发。本博客记录了对iOS原生组件基础封装和使用的全过程。
核心步骤
- 新建一个
RCTViewManager子类,管理要封装的组件
- 添加
RCT_EXPORT_MODULE()标记宏命令
- 实现
-(UIView *)view方法
封装一个最简单的组件
iOS原生部分
- 在需要供RN调用的模块地方实现
RCT_EXPORT_MODULE()宏,将模块暴露给React端,不同于原生组件,原生模块类不需要继承自RCTViewManager以及不需要实现- (UIView *)view方法
- 使用
RCT_EXPORT_VIEW_PROPERTY()和RCT_EXPORT_METHOD()宏向React端暴露属性和方法(同原生组件)
- 若需要回调,则仍需导入
#import <React/RCTBridgeModule.h>,并且实现RCTBridgeModule协议,然后就可以使用RCTResponseSenderBlock来实现回调功能
注意:通过Xcode新建的子类,头部导入的是#import 'RCTViewManager.h',需要手动修改为:#import <React/RCTViewManager.h>
1
2
3
4
5
6
7
8
9
| //
// RZCustomView.h
//
#import <React/RCTViewManager.h>
@interface RZCustomView : RCTViewManager
@end
|
1
2
3
4
5
6
7
8
9
10
11
12
13
14
| //
// RZCustomView.m
//
#import "RZCustomView.h"
@implementation RZCustomView
RCT_EXPORT_MODULE()
- (UIView *)view {
return [[UIView alloc] init];
}
@end
|
JS部分
新建一个js导入原生封装的组件
1
2
3
4
5
| // NativeCustomView.js
import { requireNativeComponent } from 'react-native';
export default requireNativeComponent('RZCustomView', null);
|
RN使用原生组件
组件的style设置直接影响所封装组件最底层视图
1
2
3
4
5
6
7
8
9
10
11
12
13
14
15
16
17
18
19
20
21
22
23
24
25
26
27
28
| // App.js
import React, { Component } from 'react';
import {
StyleSheet,
View
} from 'react-native';
import RZNativeView from './nativeCustomView.js'
type Props = {};
export default class App extends Component<Props> {
render() {
return (
<View style={styles.container}>
<RZNativeView style={{height: 50, width: 150, backgroundColor: '#ffa'}} />
<RZNativeView style={{height: 50, width: 150, backgroundColor: '#f0a', marginTop: 20}} />
</View>
);
}
}
const styles = StyleSheet.create({
container: {
flex: 1,
justifyContent: 'center',
alignItems: 'center',
backgroundColor: '#F5FCFF',
}
});
|
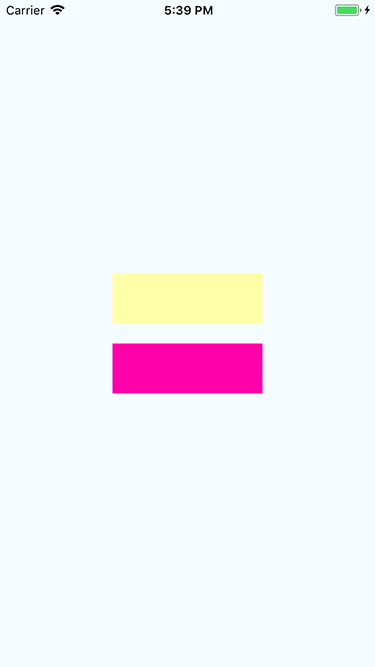
效果图